單元 14 / 18
從 Deep Security 12 升級
從 Deep Security 12 升級
若要在 Windows 上將 Deep Security 12 的安裝升級至 Deep Security 20,請執行下列步驟:
步驟 1
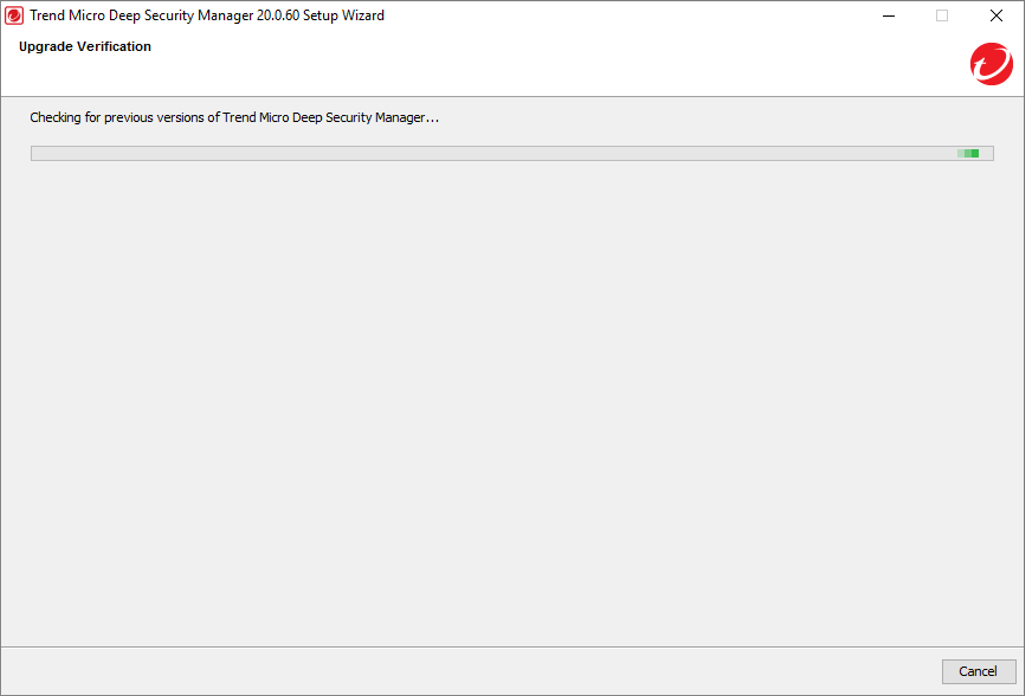
從 Deep Security Online Help Center 下載 Deep Security 20 安裝程式。雙擊安裝程式以啟動 Setup Wizard。Setup Wizard 會掃瞄現有的 Deep Security 安裝。
步驟 2
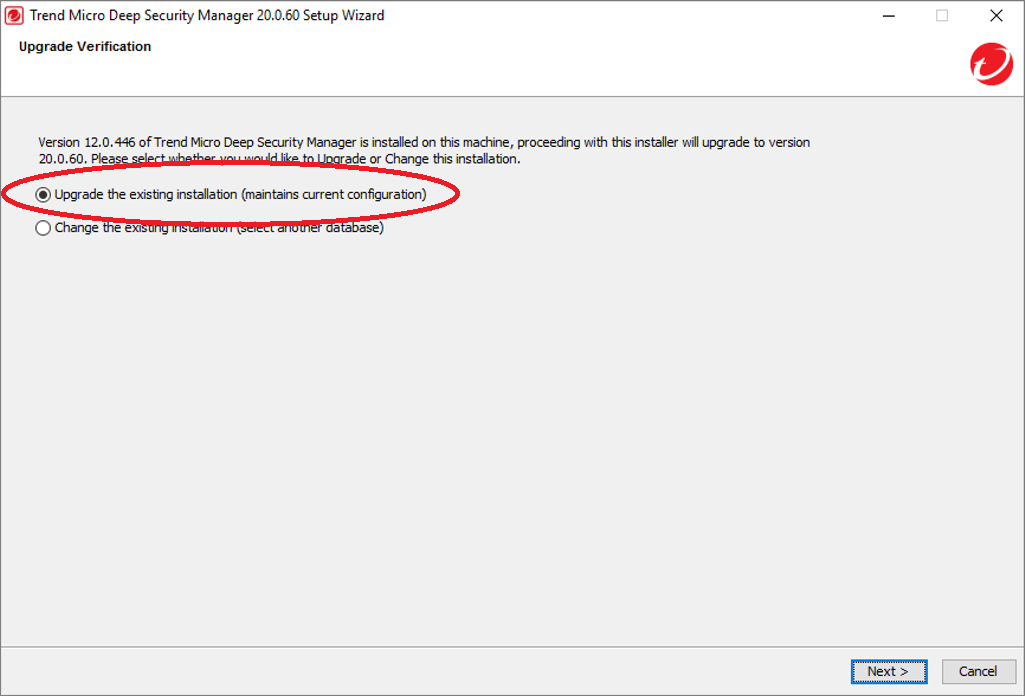
若偵測到 Deep Security 12 的安裝,系統會提示您將現有版本升級至 Deep Security 20,或建立全新安裝。全新安裝需要不同的資料庫詳細資訊。
步驟 3
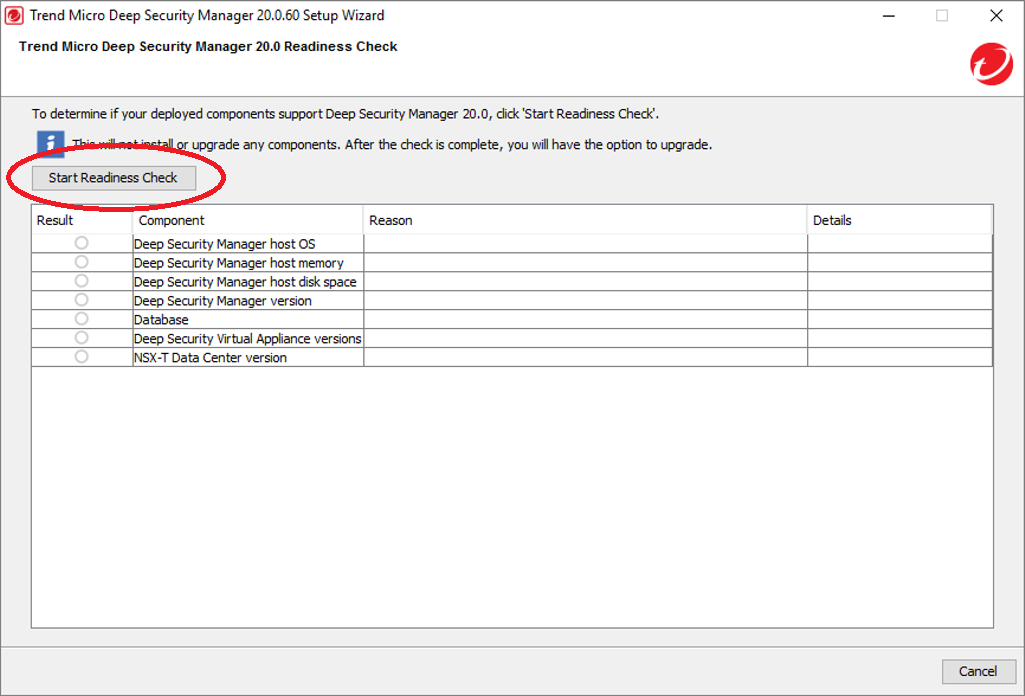
系統會顯示 Readiness Check。點擊 Start Readiness Check 開始此程序。此工具會驗證您目前部署的元件是否受 Deep Security 20 支援。
步驟 4
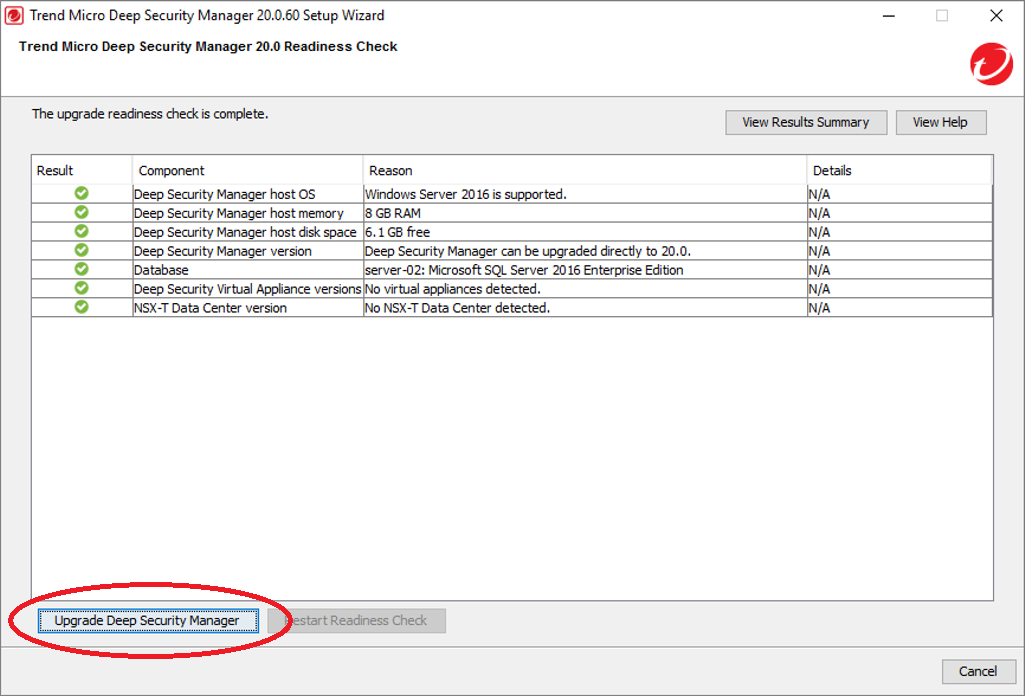
系統會顯示 Readiness Check 的結果。若您目前部署的所有元件皆受 Deep Security 20 支援,Upgrade Deep Security Manager 便會啟用,讓您繼續進行升級。若有項目不受支援,則會顯示紅色圖示並附上說明。請更新所指出的項目,並點擊 Restart Readiness Check,直到沒有任何項目顯示紅色警告圖示為止。
步驟 5
系統會顯示所選升級選項的摘要。點擊 Install 開始升級。
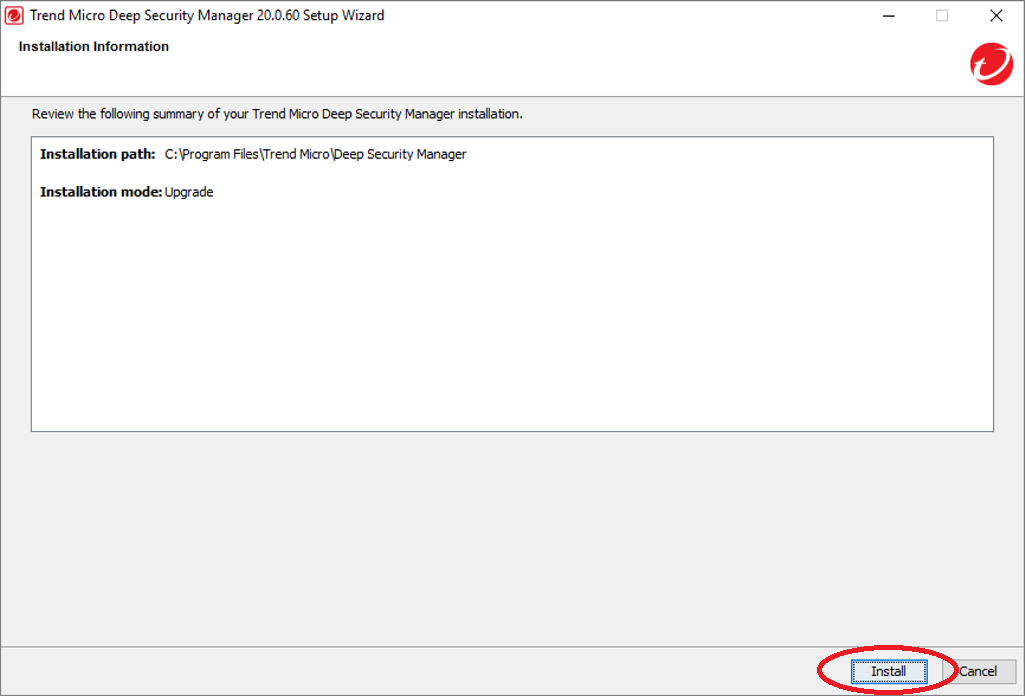
步驟 6
系統會在現有的 Deep Security Manager 12 安裝上執行升級。
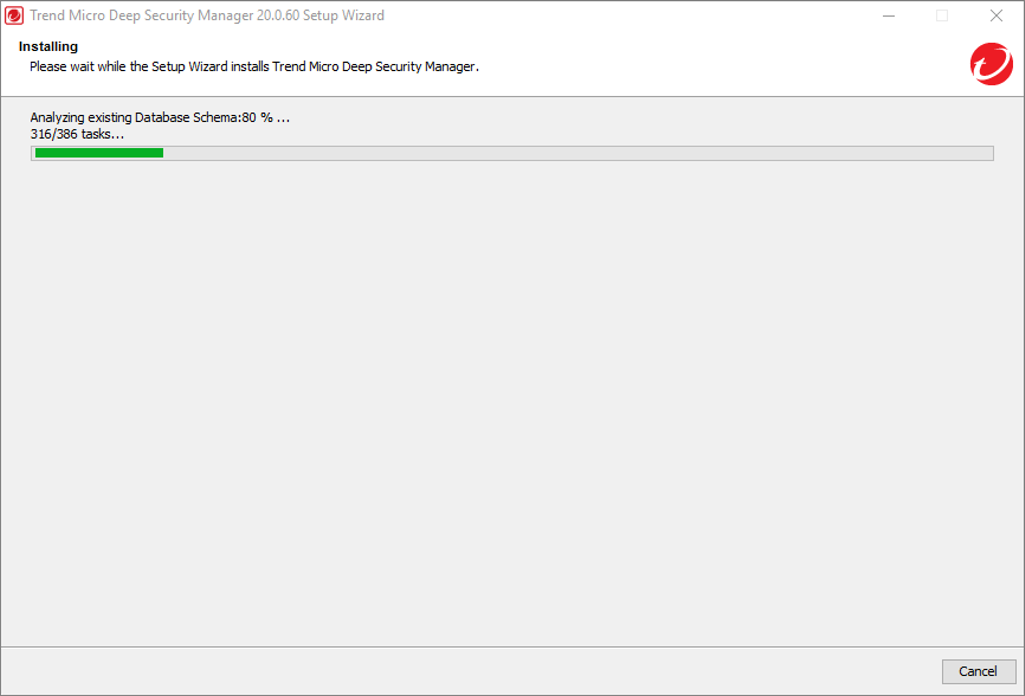
步驟 7
升級完成後,點擊 Finish。
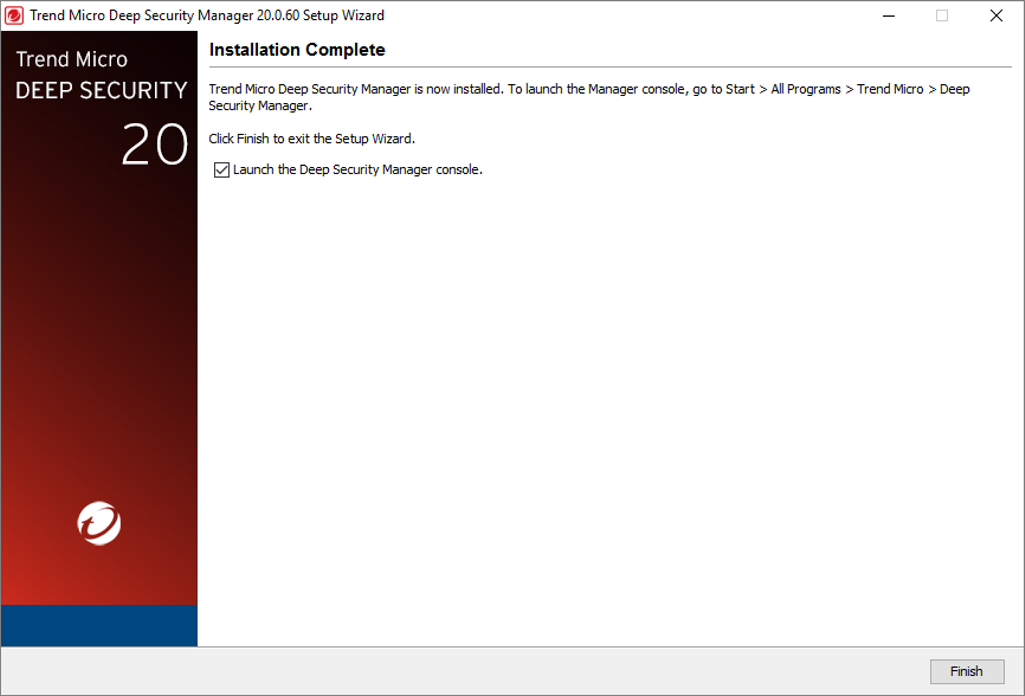
本影片示範在 Windows Server 上將 Deep Security 12 升級至 Deep Security 20 的過程。
Deep Security:第 02 課-Deep Security Manager · 18 單元
Deep Security Manager 系統需求
圖文
作業系統
圖文
資料庫
圖文
建立多個 Deep Security Manager 節點
圖文
高可用性
圖文
安裝前檢查清單
圖文
Readiness Check
圖文
執行 Setup Wizard
圖文
Smart Feedback
圖文
登入 Deep Security Manager Web 主控台
圖文
Deep Security Manager 數位憑證
圖文
Deep Security 安裝影片
15:08
升級 Deep Security
圖文
從 Deep Security 12 升級
圖文
操作示範:從 Deep Security 12 升級
05:53
從 Deep Security 11 升級
圖文
操作示範:從 Deep Security 11 升級
07:40
本課複習
圖文